Last Updated on June 4, 2025 by Muhammad Ramzan
When it comes to creating tutorials, presentations, gameplay footage, or instructional videos, one tool stands out as vital for success – a reliable screen recorder. But with a plethora of free options available, how do you identify the perfect one for your needs? This guide breaks down everything you need to know to confidently choose the best free screen recorder and make your video projects shine.
Defining Your Needs
Before downloading the first free screen recorder you come across, take a moment to define your project requirements. A clear understanding of what you need will help you narrow down your options. Here’s what to consider:
- Purpose of Recording
Are you creating a gamer walkthrough, an online lesson, or a software demo? Gamers might prioritize high-resolution output, while educators might require easy annotation tools.
- Compatibility
Ensure the recorder supports your operating system (Windows, macOS, Linux) and any external devices, such as microphones or webcams.
- Output Quality
Does your project require high-definition (HD) or standard-definition (SD) output? Screen recorders vary drastically in their video resolution capabilities.
- Added Features
Does the recorder need editing tools, video effects, or webcam integration? Advanced tools might also be necessary for simultaneous sound recording and screen capturing.
Understanding these factors will save you from frustration down the line and ensure you pick software that aligns with your goals.
Top Free Screen Recorders to Explore
Now that you’re clear on your needs, let’s look at some of the top-performing free tools in the market.
OBS Studio
One of the most popular screen recording tools, OBS Studio is perfect for gamers and content creators looking for professional-grade features.
- Pros
- High-quality recording and streaming
- Open-source and free
- Customizable layouts
- Cons
- Steeper learning curve for beginners
ShareX
If you’re looking for a lightweight yet powerful option, ShareX delivers exceptional tools for screen recording and screenshot capturing.
- Pros
- No watermarks or time limits
- Easy sharing capabilities
- Advanced recording options like region-specific capturing
- Cons
- Less intuitive interface
Free Cam
Free Cam simplifies the game for educators. This beginner-friendly software is ideal for instructional videos and presentations.
- Pros
- Built-in audio editing tools
- No watermarks
- Easy-to-use interface
- Cons
- Limited video output format (WMV only)
Screencast-O-Matic
For users who want both functionality and minimal fuss, Screencast-O-Matic offers robust screen and webcam recording features.
- Pros
- Easy to annotate videos
- Simple editing interface
- Cloud uploads
- Cons
- Some features are locked behind a paywall
Comparing Features at a Glance
To simplify your decision, here’s a feature comparison table of these top free screen recorders:
| Recorder | Operating System | Watermark-Free | Webcam Recording | Built-In Editor | Best For |
| OBS Studio | Windows, macOS, Linux | ✔️ | ✔️ | ❌ | Gamers, streamers |
| ShareX | Windows | ✔️ | ❌ | ✔️ | Quick captures, coders |
| Free Cam | Windows | ✔️ | ❌ | ✔️ | Educators |
| Screencast-O-Matic | Windows, macOS | ❌ (Free version) | ✔️ | ✔️ | Presentations, tutorials |
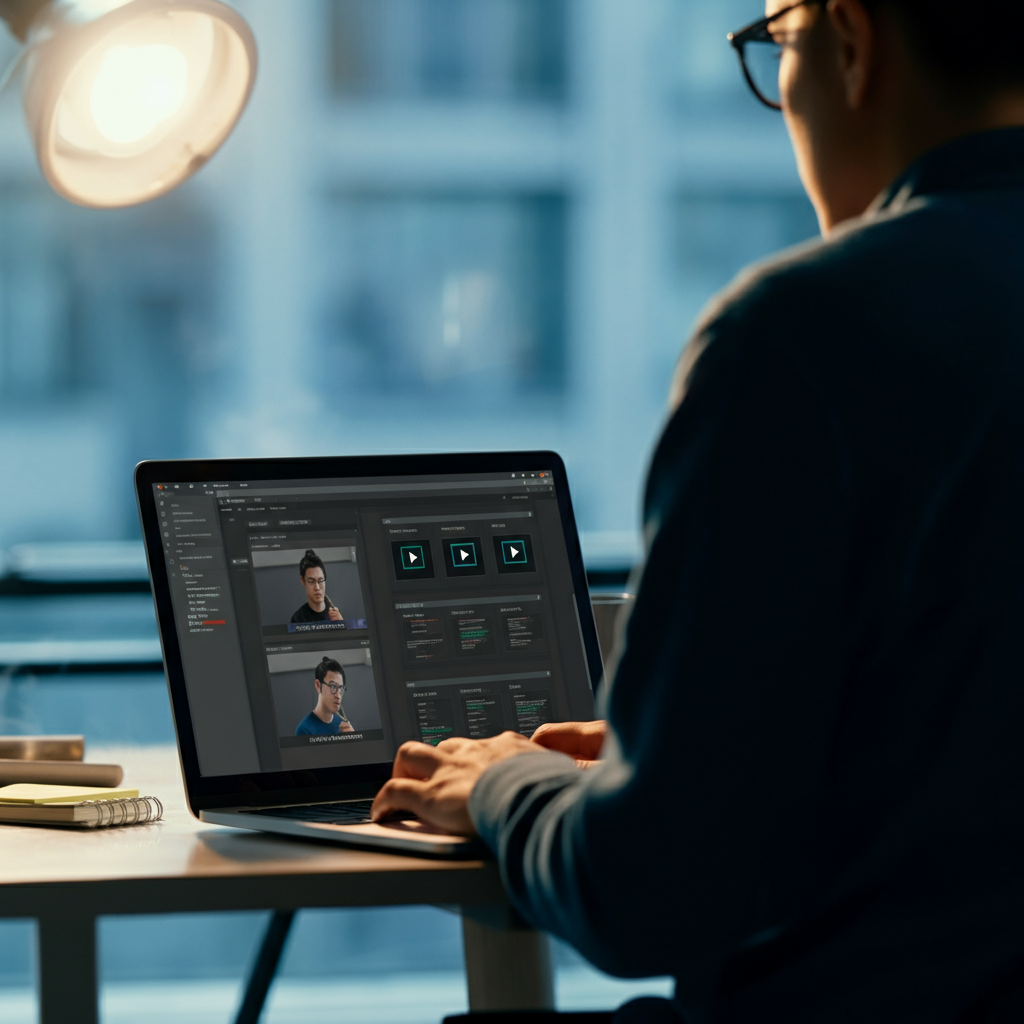
Step-by-Step Guide to Using AI Studios Screen Recorder
If you’re after a powerful and intuitive recorder, AI Studios’ AI Screen Recorder is a fantastic option. It allows you to create AI-powered videos effortlessly. Below is a quick guide to get you started in no time.
Step 1: Launch AI Studios Screen Recorder
Visit AI Studios and sign up for free. Once you’re in, launch the screen recorder tool from the dashboard with just one click.
Step 2: Set Recording Settings
- Select Recording Region: Choose between full-screen, window, or custom area recordings.
- Enable Camera & Mic: Add your personal touch by enabling your webcam or external microphone. This feature is perfect for webinars or explainer videos.
Step 3: Start Recording
Press the “Start Recording” button to begin capturing your screen. Record only what you need, ensuring a smooth and clutter-free output.
Step 4: Edit and Export
After recording, use the built-in features to edit and optimize your video. Trim, add annotations, or even leverage AI avatars to make your presentation stand out. Once you’re happy, export your video in the format of your choice.
Tips and Tricks for Optimizing Screen Recording
To get the best out of your screen recording experience, consider these expert tips:
- Plan Your Content in Advance
Scripting your video ensures clarity and flow, especially for tutorials or presentations.
- Check Your Equipment
Test your microphone and camera quality before recording to avoid unforeseen technical issues.
- Adjust Environment Lighting
Good lighting enhances video quality, especially when using a webcam overlay.
- Minimize Background Noise
Record in a quiet space. Close unnecessary applications to reduce distractions and improve system performance.
- Use Shortcuts
Many screen recorders allow keyboard shortcuts for starting, pausing, and stopping recordings to streamline the process.
Making Your Final Choice
Choosing the right screen recorder ultimately depends on your goals and specific project requirements. For gamers and tech savants, OBS Studio might tick all the boxes. For educators and casual users, options like Free Cam or Screencast-O-Matic offer simplicity and functionality.
If you’re looking for something versatile and beginner-friendly, consider using AI Studios’
How to Choose the Best Free Screen Recorder for Your Projects
Whether you’re a content creator producing tutorials, a gamer showcasing your skills, or a professional preparing a slick presentation, a screen recorder can be an invaluable tool to bring your vision to life. But with so many free options available, how do you choose the best one?
This guide will not only help you identify the key features to look for but also showcase the top free screen recording tools you can use right away. By the end, you’ll know exactly which screen recorder fits your projects and how to get started.
Define Your Needs Before Choosing a Screen Recorder
Before jumping into the options, it’s important to define your specific requirements. A clear idea of your needs will help narrow down your search. Here’s how you can assess your project requirements:
1. What type of content are you creating?
- Tutorials or Demos: If you’re recording instructional videos for YouTube or product demos, look for a screen recorder that supports annotations, HD quality, and ease of editing.
- Gameplay: Gamers might require high frames per second (FPS) recording and minimal system lag.
- Work Presentations: For business users, capturing both your screen and webcam simultaneously is key for professional, polished presentations.
2. Where are you sharing your videos?
- YouTube or Social Media: Look for features like watermark-free options and HD resolution for high-quality uploads.
- Private Use or Training: Privacy options and local file export may be more important.
3. Do you need additional editing tools?
Not all screen recorders have built-in editing. Decide whether you’ll need trimming, text overlays, or similar features, and choose accordingly.
Once you’ve answered these questions, you’re ready to explore the best free options available.
The Top Free Screen Recorders You Should Try
Here’s a curated list of the best free screen recording software designed for various use cases.
1. OBS Studio
Perfect for gamers and live streamers, OBS Studio is an open-source tool offering robust features.
- Pros: Unlimited recording length, multiple recording formats (FLV, MP4), and support for live streaming.
- Cons: A steeper learning curve for beginners due to its advanced features.
2. ShareX
Ideal for tech-savvy users who need advanced customization.
- Pros: Lightweight, no watermarks, and supports customizable workflows.
- Cons: The interface can be overwhelming for new users.
3. AI Studios’ AI Screen Recorder
For professional, polished presentations and tutorials, AI Studios offers unique AI avatar integration for added flair.
- Pros: Intuitive interface, webcam add-ons, AI avatars for presenting, and smooth screen sharing.
- Cons: Focuses more on simplicity, with fewer advanced settings compared to some alternatives.
4. Loom
Best for business professionals who need to share recordings instantly.
- Pros: Quick sharing via links, webcam overlay, and simple annotation tools.
- Cons: Limited to 5 minutes for free users.
5. CamStudio
A lightweight, open-source tool for basic screen recording.
- Pros: Free to use, unlimited recording.
- Cons: Dated interface and fewer features compared to others.
Comparing Key Features
Here’s a quick comparison of the above tools:
| Recorder | Watermark-Free | Max Recording Time | Webcam Integration | Editing Tools | Ease of Use |
| OBS Studio | Yes | Unlimited | Yes | Basic (External needed) | Moderate |
| ShareX | Yes | Unlimited | No | Advanced | Moderate |
| AI Studios | Yes | Unlimited | Yes | Basic + AI Avatars | Easy |
| Loom | Yes (Paid Upgrade) | 5 Minutes (Free) | Yes | Moderate | Very Easy |
| CamStudio | Yes | Unlimited | No | None | Easy |
How to Screen Record Using AI Studios
Choosing AI Studios for your screen recording needs provides an intuitive and powerful experience. Here’s how to get started in three simple steps:
Step 1. Open AI Studios
Sign up for a free account with AI Studios and launch the screen recorder feature.
Step 2. Customize Your Recording
Decide whether to record your screen, capture webcam footage, or incorporate an AI avatar that presents for you. Adjust the settings for resolution and recording area.
Step 3. Start Recording and Save
Click the record button, complete your video, and save the file to your desired location. Optional edits can be made before sharing your polished content!
Tips and Tricks for Optimizing Your Screen Recording Settings
To make the most of your screen recordings, follow these expert tips:
- Check Your Audio Settings: Always test your mic before starting to ensure quality sound.
- Pick the Right Resolution: Opt for 1080p HD, especially if your content will be shared on YouTube or other platforms.
- Be Mindful of Lighting: If recording webcam footage, ensure proper lighting to complement your visuals.
- Close Unnecessary Apps: Free up memory and CPU for glitch-free recording.
- Use Hotkeys: Speed up your workflow by setting up shortcuts for starting, pausing, or ending the recording.
Your Next Steps
With so many free options available, there’s no excuse for not incorporating high-quality screen recording into your projects. Choosing the best tool comes down to understanding your needs, the features that matter most to you, and ensuring ease of use.
If you’re looking for an all-in-one solution, try AI Studios’ AI Screen Recorder today. It’s user-friendly, comes with unique AI avatar capabilities, and is designed to handle both professional and creative content needs seamlessly.